Elevate Your Desk with a Floating Wooden Pencil Holder
Tired of boring, run-of-the-mill pencil holders? Want to add a touch of elegance and personality to your workspace? Then it's time to get creative and build your own floating pencil holder! This project is perfect for woodworkers of all skill levels, from beginners to seasoned pros. Not only will you have a unique and functional piece for your desk, but you'll also have the satisfaction of creating something with your own two hands.
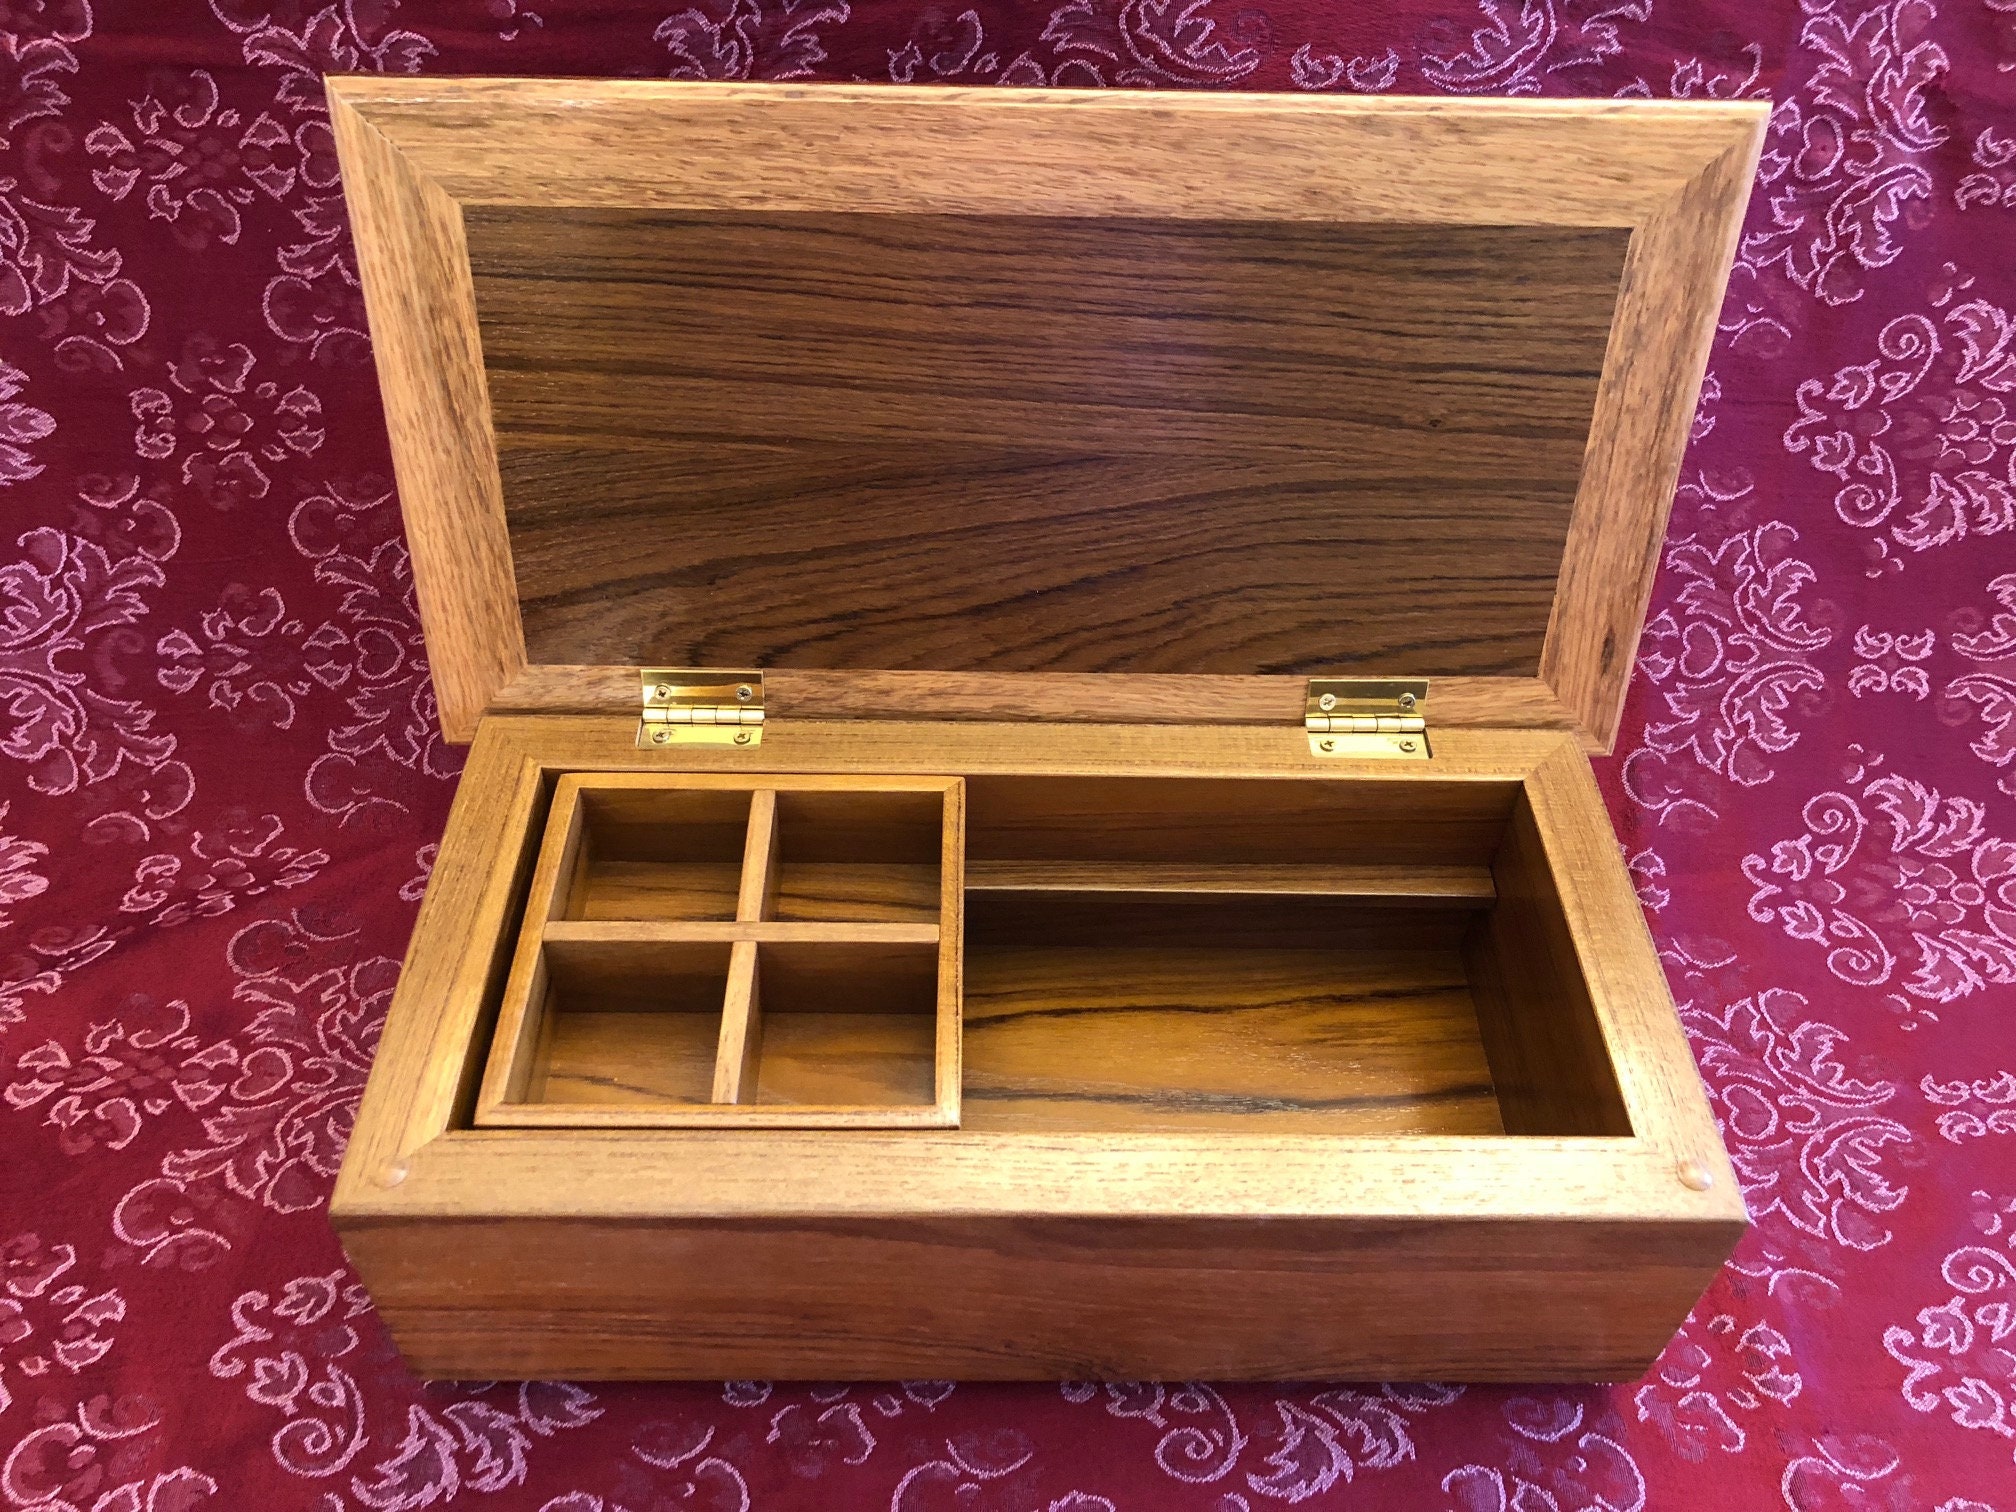
But wait, there's more! We're going to take things a step further by incorporating hidden features into our design. We'll explore various techniques to create a secret compartment, a hidden drawer, or even a miniature bookshelf within the holder. Get ready to impress your friends and colleagues with your ingenious craftsmanship and innovative design!
The beauty of wood is that you have a vast array of options to choose from! Here are some popular choices for your floating pencil holder:
- Walnut: This dark, rich wood is strong, durable, and boasts a beautiful grain pattern. It's perfect for a sophisticated and timeless aesthetic.
- Cherry: With its warm reddish-brown hue and fine grain, cherry wood adds a touch of elegance and warmth to any space. It's known for its smooth finish and beautiful aging process.
- Maple: Maple wood is renowned for its light color, tight grain, and strength. It's a versatile choice that works well with both modern and traditional designs. Plus, it's known for its beautiful figuring, particularly in curly and birdseye maple.
- Oak: Oak wood is a classic choice for its strength, durability, and distinctive grain pattern. It's a sturdy wood that can withstand the wear and tear of everyday use.
- Pine: Pine is a softwood that's known for its affordability and ease of working. Its knotty grain adds a rustic and charming touch to projects.
Now, let's gather the tools you'll need to bring your floating pencil holder to life:
- Circular Saw: This powerful tool will help you make accurate cuts for the base and sides of your holder.
- Table Saw: Use a table saw to rip your wood into the desired widths for the different parts of your design.
- Hand Saw: For finer cuts and intricate shapes, a hand saw is a valuable tool to have on hand.
- Drill Press: A drill press ensures precise and accurate drilling for dowels, hinges, or any other features you'll need for your design.
- Sandpaper: Sandpaper is essential for creating smooth surfaces and a polished look on your wooden pieces.
- Wood Glue: A strong wood glue will secure the different parts of your pencil holder together.
- Clamps: Clamps will hold your wooden pieces in place while the glue dries, ensuring a strong and secure bond.
- Wood Finish: Choose a finish that complements your chosen wood and enhances its natural beauty. Options include oil finishes, waxes, polyurethane, or shellac.
Designing Your Floating Pencil Holder
Now comes the fun part - designing your unique floating pencil holder! Here are a few key design considerations:
- Shape and Size: Will it be rectangular, cylindrical, or something more unique? How many pencils do you want to hold? Consider the dimensions carefully so it's functional and fits seamlessly on your desk.
- Floating Mechanism: There are various techniques to create a floating effect. Some popular options include:
- Dowel Pins: A simple and elegant solution where dowel pins connect the holder to a base or stand.
- Hidden Brackets: Brackets concealed behind the holder create a subtle yet sturdy support system.
- Magnetic Attachment: Magnets strategically placed within the holder and base provide a strong and invisible connection. This method requires careful alignment and placement of the magnets for optimal support.
- Hidden Features: What kind of hidden compartments or features do you envision? Will it house secret supplies, a miniature bookshelf, or perhaps a hidden drawer for your prized possessions? Let your imagination run wild!
- Decorative Elements: How will you add your personal touch? Consider adding intricate carvings, inlaid designs, or unique paint treatments to make your holder truly stand out.
Building Your Floating Pencil Holder
With your design finalized, it's time to turn your vision into reality. Here's a step-by-step guide to building your floating pencil holder:
Cutting the Pieces
1. Measure and Cut the Base: Based on your design, cut the base of your holder to the desired size and shape using your circular saw or table saw.
2. Cut the Sides: Carefully measure and cut the sides of your holder to match the base. Make sure the sides are tall enough to hold your pencils comfortably.
3. Create the Floating Element: Cut the floating section of your holder to the desired size and shape. If using dowel pins, pre-drill holes in the base and floating element to ensure a snug fit.
Assembling the Holder
1. Attaching the Sides to the Base: Use wood glue to secure the sides to the base. Apply glue to the joining edges and clamp the pieces together tightly for a strong bond.
2. Attaching the Floating Element: For dowel pins, carefully insert the dowel pins into the pre-drilled holes in the base and floating element. Make sure the pins are flush with the surface. For hidden brackets, attach the brackets to the floating element and the base, ensuring the brackets are securely fastened. For magnetic attachments, carefully position the magnets within the floating element and the base.
3. Adding Hidden Features: If incorporating a secret compartment or drawer, create the necessary cutouts or compartments in the holder. Install hinges and latches for smooth operation.
4. Sanding and Finishing: Once the glue has dried, use sandpaper to smooth out any rough edges and imperfections. Then, apply your chosen wood finish to enhance the beauty and protect the wood.
Ideas for Hidden Features
Here are some inspiring ideas to add a touch of intrigue to your floating pencil holder:
- Secret Compartment: A secret compartment in the base can be used to store small items like paperclips, rubber bands, or even a secret stash of candy.
- Hidden Drawer: A hidden drawer on the side of the holder is a great way to store pencils, pens, or other writing tools.
- Miniature Bookshelf: If you're an avid reader, consider creating a miniature bookshelf within the holder to display your favorite books or journals.
- Hidden Phone Stand: A small, retractable phone stand concealed in the holder adds a practical feature that's perfect for video calls or watching videos.
- Surprise Drawer: A drawer cleverly disguised as a part of the holder's design adds an element of surprise. Imagine a drawer that opens when you pull a seemingly ordinary pencil!
Commonly Asked Questions
Here are some common questions about building a floating pencil holder:
While you can experiment with different woods, consider factors such as strength, durability, and ease of working. Some woods, like oak and walnut, are known for their strength and durability, while others, like pine, are softer and easier to carve. Ultimately, the choice depends on your desired aesthetic and the project's complexity.
The best wood finish depends on your personal preferences and the desired look. Oil finishes enhance the wood's natural grain and provide a warm, satin sheen. Waxes offer a durable finish with a subtle shine. Polyurethane offers a hard, durable finish that's water-resistant. Shellac provides a clear, protective finish that enhances the wood's natural beauty. Choose the finish that best complements your chosen wood and the overall design.
Ready to take your desk décor to the next level? Start crafting your unique floating pencil holder today! Embrace the joy of woodworking, experiment with hidden features, and let your creativity shine through.


